.png)

Want to integrate Snipe IT with your existing systems? This guide covers everything you need to know about Snipe IT integration, including setup, managing asset data, API access, and troubleshooting. Whether you’re looking for secure data exchange or asset tracking, you’ll find practical steps and tips here.
Key takeaways
-
Setting up Snipe IT integration requires API access configuration, user authorisation and URL consistency to avoid connectivity issues.
-
Managing asset data means synchronising asset fields, regular updates and handling status changes to keep records up to date.
-
Integrating with 3rd party tools and using community SDKs adds to Snipe IT functionality, streamlines asset management, and workflow.
How does Snipe IT integrate with your existing infrastructure?
Snipe IT is designed to plug seamlessly into your existing IT ecosystem, enabling secure, automated asset management across multiple platforms. Whether you're managing users, tracking hardware, or automating workflows, Snipe IT offers flexible integration options to fit your needs.
-
API integration: Use Snipe IT’s REST API to connect with other platforms—like Jira, ServiceNow, or internal tools—for real-time asset syncing, data exchange, and workflow automation.
-
LDAP/active directory support: Sync user accounts and permissions through your organization’s directory services. This allows single sign-on (SSO), automated provisioning, and cleaner user management.
-
3rd-party tools: Integrate with collaboration and identity tools like:
-
Jira for linking asset data to tickets
-
Slack for real-time notifications
-
JumpCloud for identity and access management (IAM)
-
-
Middleware solutions: For more complex systems, middleware can help bridge the gap between Snipe IT and enterprise resource planning (ERP) or procurement software.
-
Mobile app integration: Use mobile apps (powered by the Snipe IT API) for asset check-in/check-out, audits, and updates on the go.
-
Community SDKs & custom integrations: Leverage open-source SDKs (Python, PHP, Node.js) or build your own extensions to tailor Snipe IT functionality to your workflow.
Snipe IT's modular architecture and API-first design make it easy to integrate into existing infrastructure—whether you're a startup looking to automate tracking or a large enterprise managing global hardware inventory.
Setting up Snipe IT integration

Before integrating Snipe IT with your existing systems, make sure your environment is configured correctly to support secure, reliable data exchange. A few key setup steps ensure your integrations run smoothly from day one.
-
Ensure URL consistency: Make sure the Snipe IT URL matches the one users access. Mismatched URLs can cause redirect errors or failed API calls during integration.
-
Install LDAP extension (if applicable): If you plan to use LDAP or Active Directory, install the LDAP extension and configure your directory settings before proceeding.
-
Configure API access:
-
Generate secure API keys from the admin panel.
-
Store your Client ID and Secret in a secure location.
-
Ensure the server has access to
storage/andcache/directories to prevent sync failures.
-
-
Create a new integration:
-
Use built-in tools or community-developed SDKs (e.g., Python, PHP, Node.js) for rapid integration.
-
Customize the integration with specific business logic, custom fields, or automation workflows as needed.
-
-
Restart when updating
.env:-
Any changes to the
.envfile, like updated tokens or endpoints, may require a full server restart to take effect.
-
Proper configuration at this stage avoids common roadblocks like connection errors, unauthorized API requests, or missing data fields in sync processes.
Authorizing user access
Once your integration setup is complete, the next step is to ensure that only the right users can access and interact with Snipe IT. Proper authorization keeps your asset data secure and ensures a smooth login experience across systems.
-
Assign roles and permissions: Use the Applications, Users List, or User Groups page in Snipe IT to assign user roles. Roles determine what actions users can take—such as view-only access, edit privileges, or admin controls.
-
Support for SAML SSO: Enable Single Sign-On (SSO) through SAML for a seamless login experience using existing identity providers (e.g., Okta, Azure AD, JumpCloud). This also reduces password fatigue and improves security.
-
Avoid access issues after upgrades: System upgrades may reset or modify permission structures. Always review and re-confirm user roles after major updates to maintain compliance and prevent access interruptions.
-
Audit user access regularly: Periodic reviews of user permissions help detect misconfigurations, reduce insider risk, and maintain least-privilege access policies across departments.
Proper authorization ensures that only authorized personnel can interact with asset data, reduces the chance of human error, and supports compliance with IT governance policies.
Managing asset data in integrated systems
.png?width=600&height=300&name=snipe%20it%20integration%20(1).png)
After your Snipe IT integration is configured and access is authorized, managing asset data becomes the core of your day-to-day operations. Keeping records accurate, synchronized, and up to date ensures that asset tracking, reporting, and compliance stay on point.
-
Synchronize asset fields: Match asset fields across Snipe IT and other platforms to ensure consistency. Properly configure API tokens and field mappings to avoid sync errors and discrepancies between systems.
-
Update asset information: Keep asset records current with a mix of automated updates (via API syncs) and manual overrides for real-time corrections. Always verify that external services have proper API key access to prevent failed updates.
-
Handle asset status changes: Use built-in notifications and automated workflows to reflect changes like checked-in, checked-out, damaged, or retired. Accurate status updates improve visibility into asset availability and lifecycle stages.
-
Support ticket integration: Link assets to support tickets from platforms like Jira or ServiceNow. This helps IT teams resolve issues faster by referencing real-time device status and history directly within the ticket workflow.
-
Track consumables and software licenses: Go beyond hardware—manage accessories, software licenses, and expiration dates. Assign licenses to users, track renewals, and ensure compliance across your IT environment.
Managing your asset data well improves operational efficiency, reduces manual errors, and helps enforce IT governance with audit-ready records. Automated tools can also update asset status across integrated platforms.
Importing and exporting data
.png?width=600&height=300&name=snipe%20it%20integration%20(2).png)
Efficient data handling is essential when integrating Snipe IT with other systems. Whether onboarding new assets, backing up records, or migrating data between platforms, Snipe IT supports flexible import/export options to keep your asset database accurate and accessible.
-
Importing users and assets: Use CSV file uploads or API calls to bulk import users and assets. For accuracy:
-
Ensure
Model NameandModel Numberfields are populated to avoid upload errors. -
Match CSV headers exactly to Snipe IT’s field names to prevent data from being ignored.
-
Use command-line tools for larger data sets or repeated imports.
-
-
Exporting asset data: Export asset data in CSV format for reporting, audits, or migration. You can:
-
Filter by asset type, location, or status.
-
Use exports for backup, analytics, or to re-import with updated details.
-
-
Confirmations and notifications: Pair import/export workflows with user approvals or notifications. For example, trigger an email when a user is assigned an imported asset or confirm delivery through a connected ticketing system.
-
Versioning and audit logs: Maintain transparency by exporting data with version history or tracking logs. This supports change audits and compliance reviews.
Using Snipe IT’s import/export features correctly streamlines your IT Asset Management, improves visibility, and reduces time spent on manual recordkeeping.
Automating data transfers
Automating asset data transfers between Snipe IT and other systems reduces manual effort and ensures information is always up to date across platforms. It’s especially useful for environments that require frequent updates or operate at scale.
-
Scheduled sync jobs: Set up scheduled tasks (e.g., using cron jobs or workflow automation tools) to regularly pull or push asset data to and from Snipe IT via its API. This keeps records current without human intervention.
-
Trigger-based updates: Use event-driven automation to trigger data transfers, like syncing asset status when a device is assigned in Jira or when a user is added via an identity provider like JumpCloud.
-
Integration with ETL tools: Use Extract, Transform, Load (ETL) tools such as Zapier, Make.com, or custom scripts to move data between Snipe IT and other platforms. These tools can help map fields, clean data, and log transfer history.
-
Real-time asset visibility: Automated transfers improve asset visibility across teams by reducing sync delays. This ensures reporting dashboards and ticketing tools are always using the most accurate asset data.
-
Error handling and alerts: Set up notifications for failed sync attempts or permission errors, helping you quickly fix issues without data loss or inconsistency.
Automation enhances the reliability, speed, and scale of your asset management operations, making your Snipe IT integration not just functional but future-ready.
Notifications and alerts
.png?width=600&height=300&name=snipe%20it%20integration%20(3).png)
Staying informed about asset activity is essential for maintaining control and visibility across your IT environment. Snipe IT provides flexible notification and alerting options to help teams stay proactive and responsive.
-
Email notifications: Snipe IT can send email alerts for key events such as asset check-ins, check-outs, status changes, and license expirations. Admins can configure notification settings per user or event type to avoid alert fatigue and ensure the right people stay informed.
-
Slack integration: Real-time Slack notifications allow teams to monitor asset activity directly from their communication channels. You can configure specific channels to receive alerts for checkouts, returns, repairs, or assignments—enhancing team coordination and accountability.
-
Custom alerts: Admins can set custom alert conditions based on asset status, user actions, or compliance requirements. For example, create alerts when warranty periods are nearing expiration or when devices remain inactive for too long. These alerts improve policy enforcement and risk mitigation.
-
Assignee-based updates: Notifications can be sent to asset assignees directly, keeping them in the loop about return due dates, renewals, or required acknowledgments.
-
Integration with external systems: Alerts can be routed to external platforms (e.g., Jira, ServiceNow) using webhooks or middleware to trigger workflows—such as creating support tickets or flagging compliance checks.
With the right alerting setup, you’ll catch issues early, stay compliant, and make sure everyone is aware of their asset responsibilities.
Troubleshooting common issues
Even with well-planned integrations, problems can arise. Knowing how to quickly identify and resolve common Snipe IT issues helps maintain reliable asset tracking and uninterrupted workflows.
-
Connectivity problems: If you're experiencing API errors or failed sync attempts, check that your server URL matches the one set in the
.envfile. Also verify that file permissions allow the web server to write to cache and storage directories. A common symptom like a “500 Server Error” during imports may point to these issues. -
Data synchronization errors: Inconsistent or missing asset records across systems often result from incorrect API token configuration, outdated keys, or mismatched field names. Ensure your API tokens are valid and updated, and that field mappings between Snipe IT and external platforms align correctly.
-
User authorization failures: If users can’t access the system or receive permission errors, double-check their assigned roles and permissions. Also confirm SSO or SAML configurations are working correctly, especially after version updates or integration changes.
-
Import failures: Import errors often stem from improperly formatted CSV files. Ensure required fields like Model Name and Model Number are present and that headers match existing Snipe IT field names. For bulk imports, consider using CLI tools to avoid timeouts or server strain.
-
Missing notifications: If alerts aren’t triggering, review your notification rules and confirm the configured email or Slack channels are active and correctly integrated. Also check that background jobs (such as queue workers) are running correctly on the server.
By proactively addressing these issues and routinely reviewing logs, you can maintain smooth integration and asset operations.
Enhancing integration with third-party tools
.png?width=600&height=300&name=snipe%20it%20integration%20(4).png)
Extending Snipe IT’s functionality with third-party tools can streamline asset tracking, simplify user management, and support complex IT workflows. These integrations help eliminate manual tasks and create a more connected, efficient IT ecosystem.
-
Identity & user management: Connect Snipe IT with tools like JumpCloud via SAML SSO or SCIM to automate user provisioning and deprovisioning. This ensures that access is granted and revoked based on role changes, reducing the risk of orphaned accounts or manual errors.
-
Helpdesk & ticketing: Integrate with platforms like Jira Service Management to link assets to tickets automatically. This improves visibility for IT teams, allowing them to see device histories, statuses, and ownership directly in support workflows, without switching platforms.
-
Messaging & alerts: Connect Snipe IT with Slack or Microsoft Teams to send real-time notifications about asset check-ins, checkouts, or status updates. These alerts improve collaboration and help teams respond faster to changes.
-
Security & endpoint monitoring: Pair with tools like Microsoft Intune, Jamf, or CrowdStrike to add compliance checks, patch visibility, or endpoint health to your asset data. These integrations help unify IT asset management and endpoint security.
-
Inventory & procurement platforms: Use middleware (e.g., Zapier, Integromat, custom APIs) to link Snipe IT with procurement systems or inventory databases. Automate asset creation when new equipment is purchased or sync vendor details with Snipe IT records.
-
Mobile applications: Leverage mobile apps built on the Snipe IT API for real-time asset updates, barcode scanning, or physical inventory checks. These are especially useful for IT teams on the move or managing distributed environments.
By integrating with the right third-party tools, organizations can turn Snipe IT into a centralized hub for device visibility, control, and compliance—tailored to their unique workflows.
Summary table: steps for Snipe IT integration
|
Step |
Description |
Key actions & considerations |
|---|---|---|
|
1. Setup integration |
Prepare your system and configure API access for secure data exchange. |
Install LDAP extension if needed; ensure URL consistency; generate API keys and store securely. |
|
2. Authorize user access |
Assign user roles and permissions to control access. |
Use Applications, Users List, or User Groups page; configure SAML SSO for secure login. |
|
3. Synchronize asset fields |
Maintain data consistency between Snipe IT and other systems. |
Configure API tokens properly; regularly update tokens; ensure field mappings are accurate. |
|
4. Update asset information |
Keep asset data current through automated or manual updates. |
Use automated synchronization where possible; manual overrides for immediate changes. |
|
5. Handle asset status changes |
Track asset availability and condition accurately. |
Enable notifications for status changes; use automated tools for updates across platforms. |
|
6. Import/export data |
Facilitate data migration and backups via CSV files or command-line tools. |
Match CSV headers with Snipe IT fields; use command-line tools for large imports. |
|
7. Automate data transfers |
Streamline workflows by scheduling automatic updates. |
Set up regular automated transfers to minimize manual effort. |
|
8. Configure notifications |
Set up email, Slack, and custom alerts to stay informed about asset activities. |
Customize notification settings based on user roles and asset criteria. |
|
9. Troubleshoot common issues |
Address connectivity, data sync, and user authorization problems promptly. |
Check server permissions, clear cached files, verify API configurations, audit user roles. |
|
10. Enhance with third-party tools |
Expand functionality using middleware, mobile apps, and community SDKs. |
Integrate with tools like Jira, JumpCloud; leverage SDKs for custom extensions. |
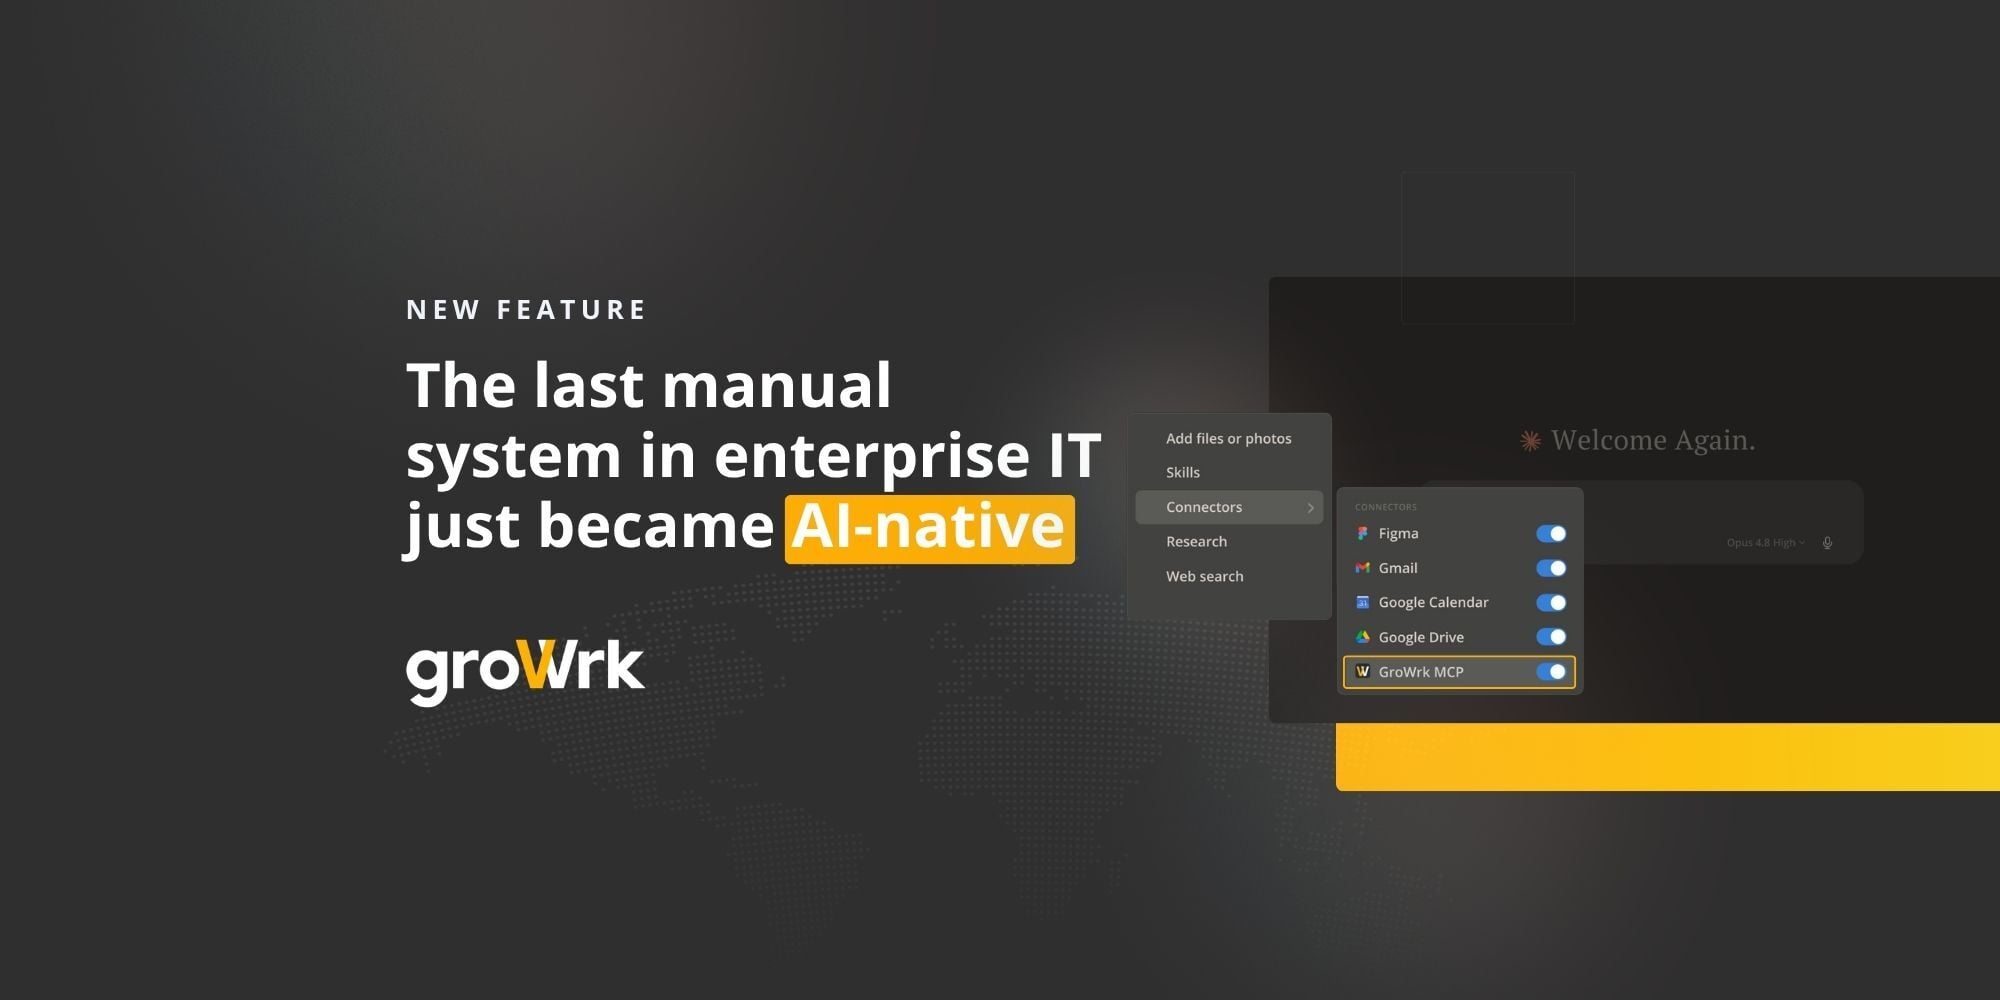
How GroWrk enhances asset management
GroWrk is a powerful platform to complement and enhance asset management processes, making it easier for organizations to track, manage, and optimize their IT assets. By integrating GroWrk with asset management tools like Snipe IT, organizations can streamline workflows, improve data accuracy, and facilitate better communication across teams.
Key benefits of using GroWrk for asset management:
-
Centralised asset tracking: Growrk provides a single platform to monitor all assets, hardware, software, and accessories, so nothing is missed.
-
User-friendly interface: Its simple design allows users across departments to access asset information, reducing training time and increasing adoption.* Automated Notifications: GroWrk can send alerts for asset check-ins, check-outs, maintenance schedules, and license renewals so teams are informed and proactive.
-
Integration: Integrates with Snipe IT and Jira so updates are synchronised and manual data entry is reduced.
-
Approval workflows: Supports automated approval for asset assignments, returns, and disposals so compliance and accountability are ensured.
-
Reporting: Offers reports on asset usage, status, and lifecycle so organisations can make informed decisions.
-
User asset confirmation: Allows communication with users to confirm receipt or return of assets, so transparency and discrepancies are reduced.
-
Role-based access control: Only authorised personnel can modify asset data, so security and data integrity are enhanced.
By using GroWrk with Snipe IT integration, organizations can have a more robust and efficient asset management system for modern IT environments. Schedule a demo today.
Frequently asked questions
What is Snipe IT?
Snipe IT is an asset management tool that helps IT departments manage both hardware and software assets effectively. Its features streamline asset tracking and utilisation.
How does Snipe IT notify users about asset check-in/check-out?
Snipe IT notifies users about asset check-in and check-out through Slack so updates are real-time for seamless asset management.
What is required for the Google Play app by DiegoGarciaDEV to work with Snipe-IT?
The Google Play app by DiegoGarciaDEV requires a specific file to be placed on the Snipe-IT server to work.
What type of support is provided for hosted accounts of Snipe-IT?
Hosted Snipe-IT accounts get secure hosting and top level support and priority on feature requests.
What platforms does Snipe-IT run on?
Snipe-IT runs on any Linux, Windows or Mac web server.